Make a GIF accessible in Webflow

Overview
I break down the ways GIFs can cause problems for people with specific accessibility requirements and share a step-by-step guide for uploading your own GIFs to Webflow; making them accessible with some copy and paste code.
When I was building this website, I wanted to ensure the site was both accessible and had a low carbon impact.
For environmental reasons, I wanted to cut out video files, so I turned to GIFs to showcase work I would typically use video for.
I've adapted this code (perfect for non-Webflow folks) so that someone with no coding knowledge can easily use it on their Webflow site. Kudos to Steve Faulkner for the original solution.
Step-by-step guide
In design programs
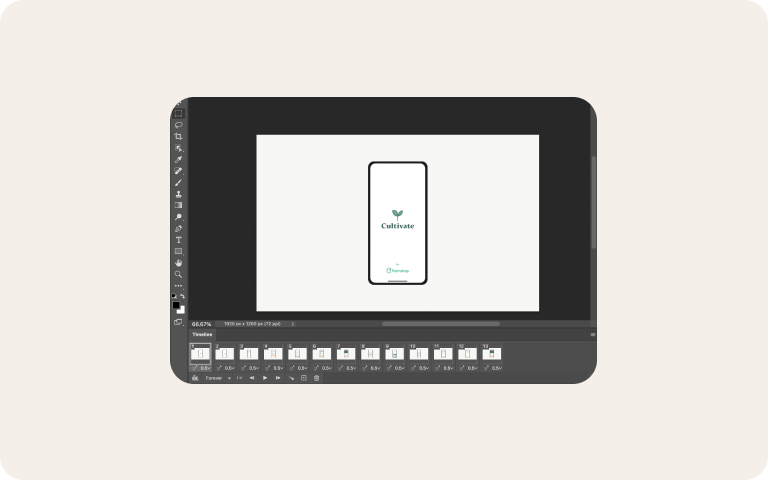
Step 1—Remove flashing or blinking
- Firstly, for photosensitive or epileptic site visitors, we need to ensure the GIF does not flash more than 3 times per second. Anything faster than this could cause seizures or headaches.
- Tackling this starts within GIF design files. We made our GIFs in Adobe Photoshop.
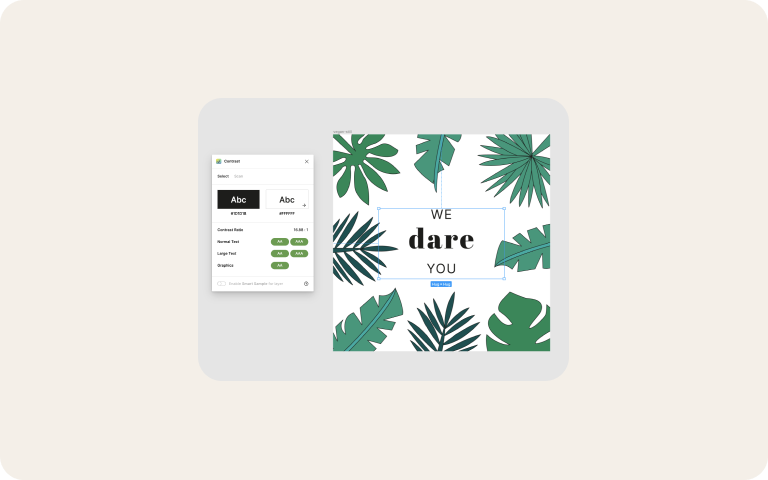
Step 2—Ensure any text within the GIF has high visual contrast
- You should also ensure that text within the GIF image has a strong contrast ratio for people with low vision.
- You can check this in design files using accessibility contrast checking tools like Stark or Contrast.
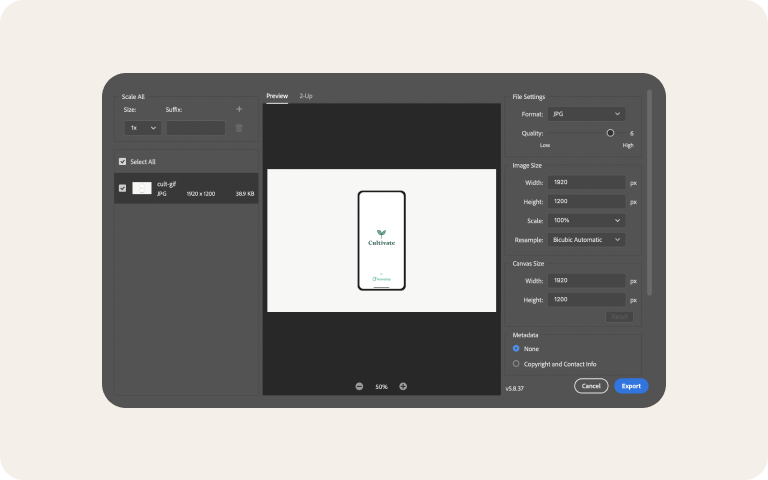
Step 3—Export the first frame of your GIF as a separate image file
- You will need this image for next steps.
In Webflow
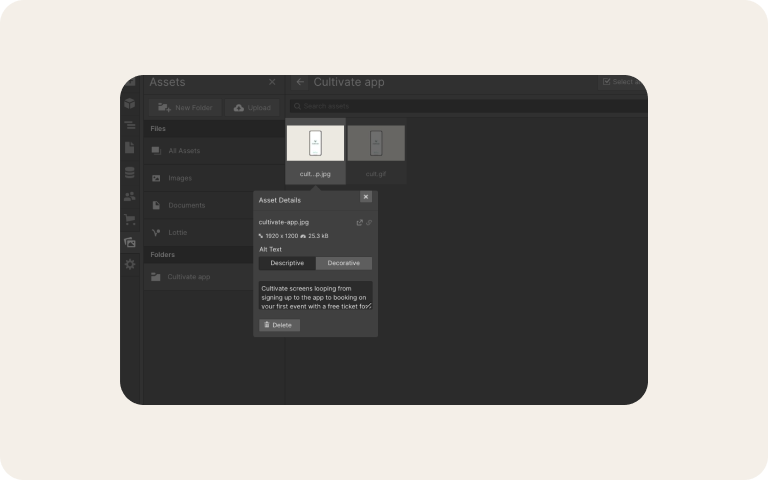
Step 4—Upload your GIF file and the separate image of your first frame into your assets panel on Webflow
Step 5—Add alternative text to each file to describe what they show
- There's some really great advice in this Mural accessibility article about writing suitable alternative text for GIFs.
Step 6—Allow a website visitor to pause, stop or hide the GIF
- We now need to allow visitors to pause, stop and hide GIFs when they visit your site. The reason for this is to help people with seizure disorders, or other disabilities. If you have a GIF over 5 seconds, site visitors need to be able to pause it. GIFs that run over 5 seconds are particularly bad for causing disorientation in people with certain cognitive disorders. With some copy and paste code we can quickly solve this problem.
Code for Webflow
Step 7—Drag in an embedded HTML block
- Drag the block to where you want to display your GIF from the advanced section of your Webflow add panel, or click to add custom code in your rich text
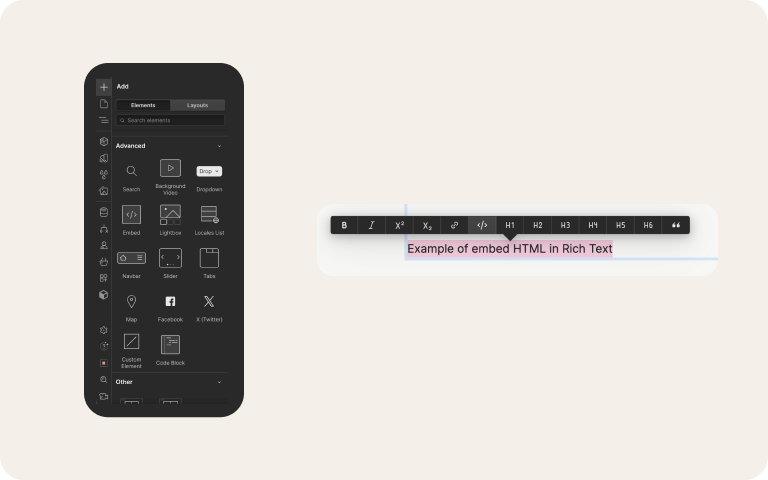
Step 8—Now copy and paste in this HTML code (in the HTML tab)
- This will place both your still image and animated GIF into one place on your page.
Step 9—Grab the image links and copy paste the alternative text
- Click the settings cog on the image in the assets panel and click on the link icon to copy the link) and paste the urls into the spaces highlighted in the code snippet above, replacing the placeholder text.
- Copy and paste the alternative text for the images into the <alt> tag area in the code snippet in the speech marks, replacing the alternative text placeholders.

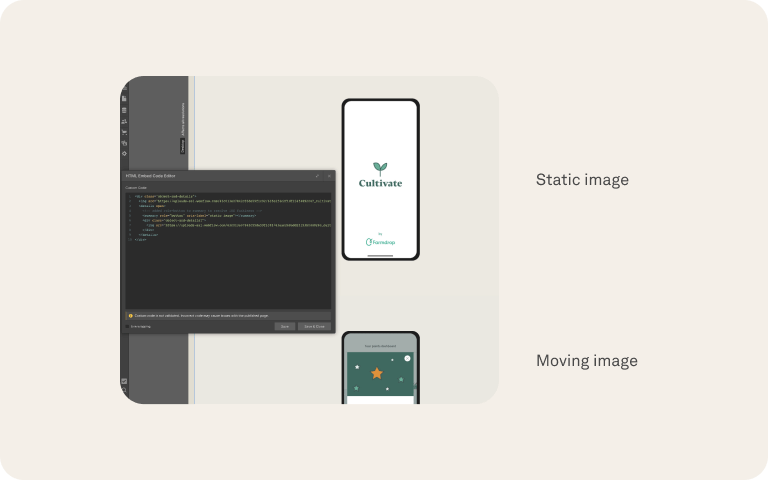
Step 10—See 2 images on top of each other
- You should now see 2 images above each other in the designer. The bottom image should be moving. Here's an example below from this website:
Step 11—Use this JavaScript snippet (In the JS tab)
- This JavaScript snippet allows site visitors to automatically hide the GIF if they have the reduced motion preference set in their internet settings. It also swaps in the still image on the GIF if a site visitor presses pause.
- Add this JavaScript in the page settings your GIF is displayed on by clicking the page settings cog, then pasting the code into your 'before body' code area, then save.

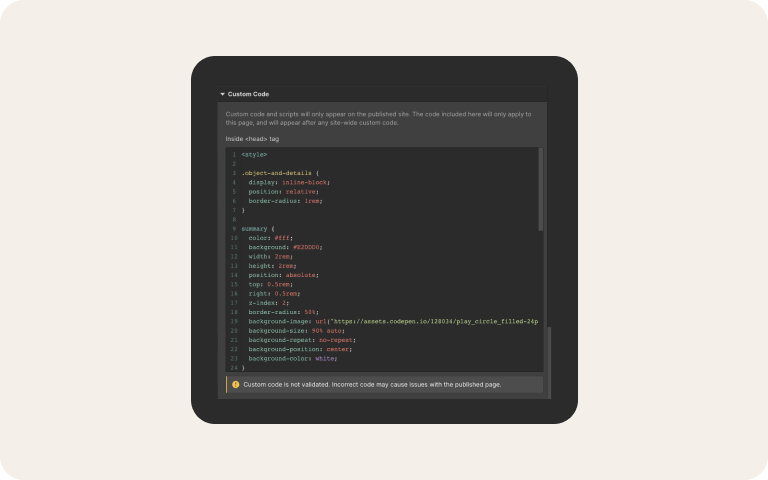
Step 12—Use this CSS snippet to add play and pause buttons and add styling (in the CSS tab)
- Add this CSS code to the above <head> tag area in the page settings. You will only be able to see these updates once you publish your page, they will not be visible in the designer because they are made with custom code.
- If you want to adjust the colours or other styling you can experiment and save changes from the CSS area.
The result
An awesome, lower carbon-emitting, accessible way to showcase your work. Check your GIF on different screen sizes to make sure everything is working nicely—the code you've copy pasted should automatically ensure your play and pause button look good on all screen sizes.
Related posts
Here’s some articles you might like too.
.png)
.png)
.png)
How can I help you make your website accessible?
I have lots of experience creating accessible digital products; running user testing and research to assess and improve accessibility; and creating accessible design systems and content.